File into an Existing Document
The File into an Existing Document process allows the Records Division to upload and associate new filings, correspondence, or supporting materials with an already existing case or docket.
This ensures all documents related to a case are stored in one place and can be efficiently reviewed, tracked, and retrieved.
The File into an Existing Document function helps Records Staff:
- Manage document submissions received after a case has been opened.
- Ensure document visibility and accessibility for authorized users across departments (Legal, OGC, PIB, etc.).
- Uphold version control and confidentiality rules for newly added filings.
Accessing the Cases Module
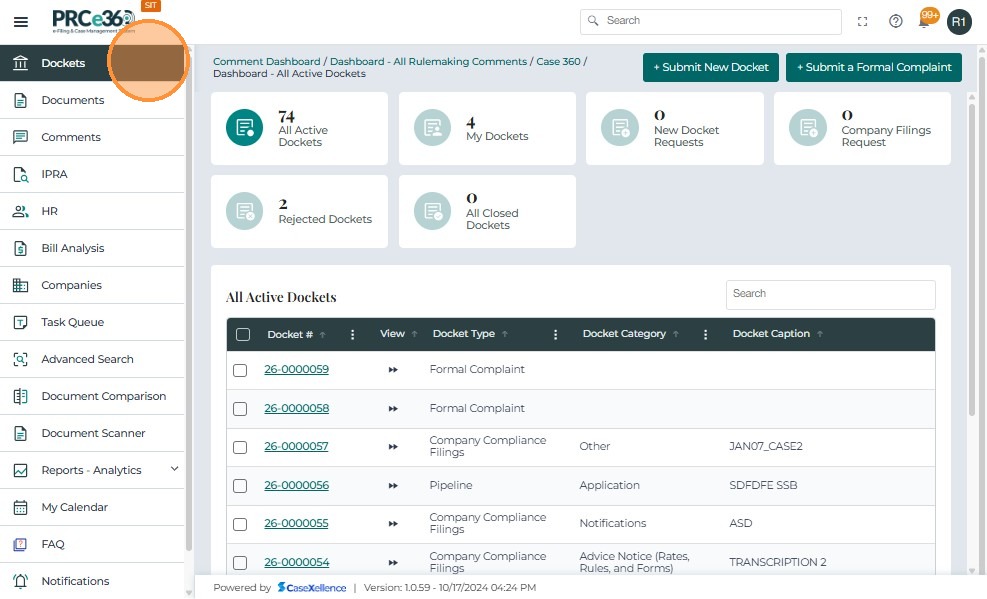
- From the main menu on the left side of the screen, click Dockets.
- This will open the Cases Dashboard, displaying various categories.
- Use this section to locate the existing case or docket into which you want to file a new document.
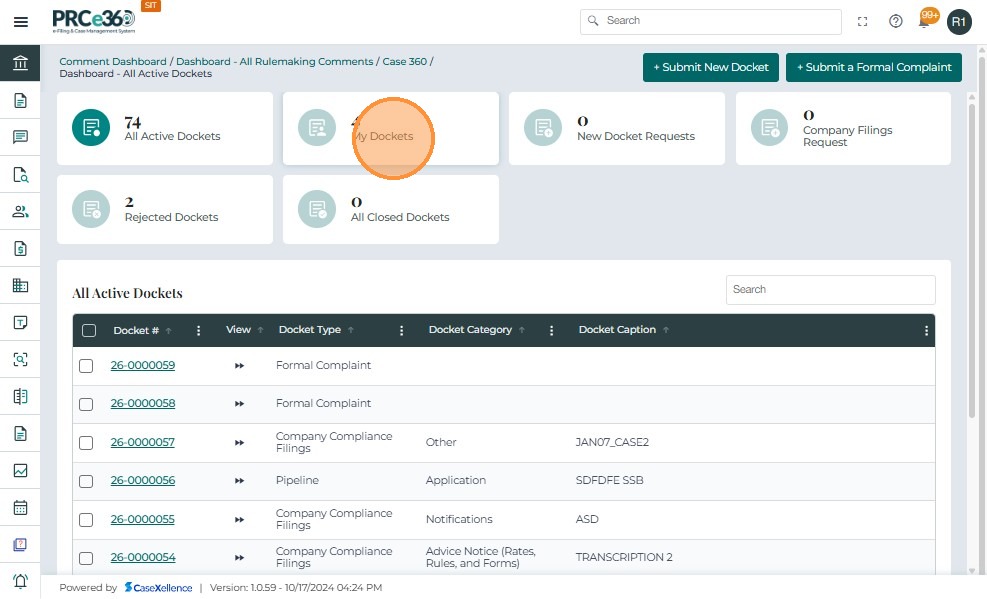
- From the Dashboard – Dockets screen, locate the My Dockets tile.
- This section displays all the cases currently assigned to or filed by the logged-in user.
- Click on the My Dockets tile.
- The system navigates to the list of cases associated with your user account.
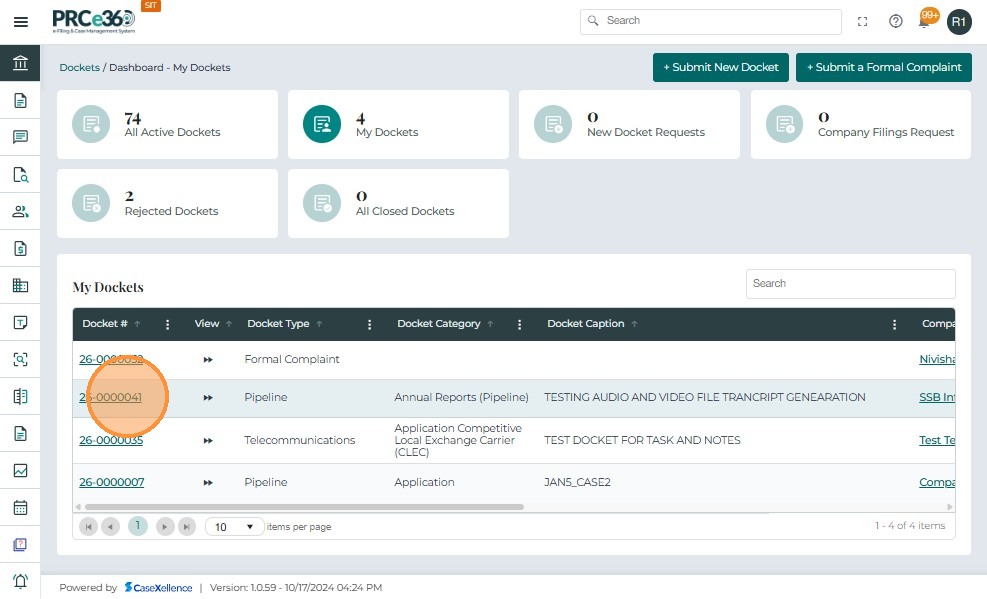
- Use the Search bar to quickly locate the specific docket into which the document must be filed.
- Once identified, click the Docket Number link to open the Case 360 view.
- Click the Docket Number to open the Case 360 view for that specific case.
- This view provides complete access to all case-related details, including documents, comments, parties, and assignments.
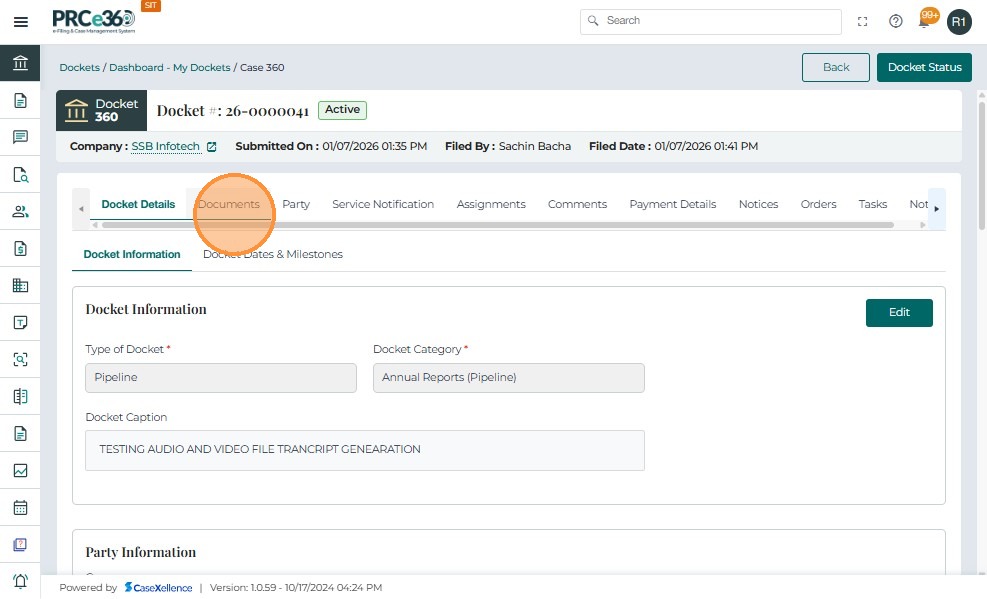
Once the user opens the required docket from the My Docket section, the Case 360 view screen appears. To get the complete details on the Case 360 view, see Case 360 view.
From this view, the Records Division can upload and file documents under the existing case, ensuring that all case materials remain properly linked to the corresponding docket number.
Steps to File a Document
-
Navigate to the Documents tab within the Case 360 view.
-
This tab includes three sections: Internal Documents, Pleading Documents, and Public Filing Requests.
-
Select the Internal Documents section.
-
This is used for uploading internal records, correspondence, or filings submitted by Records staff.
- Click the Upload button.
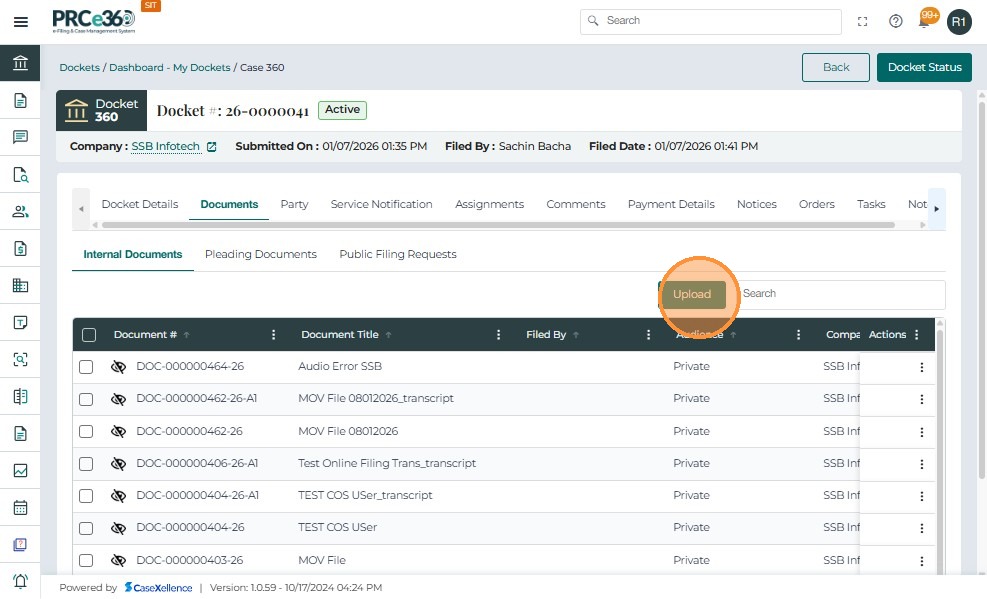
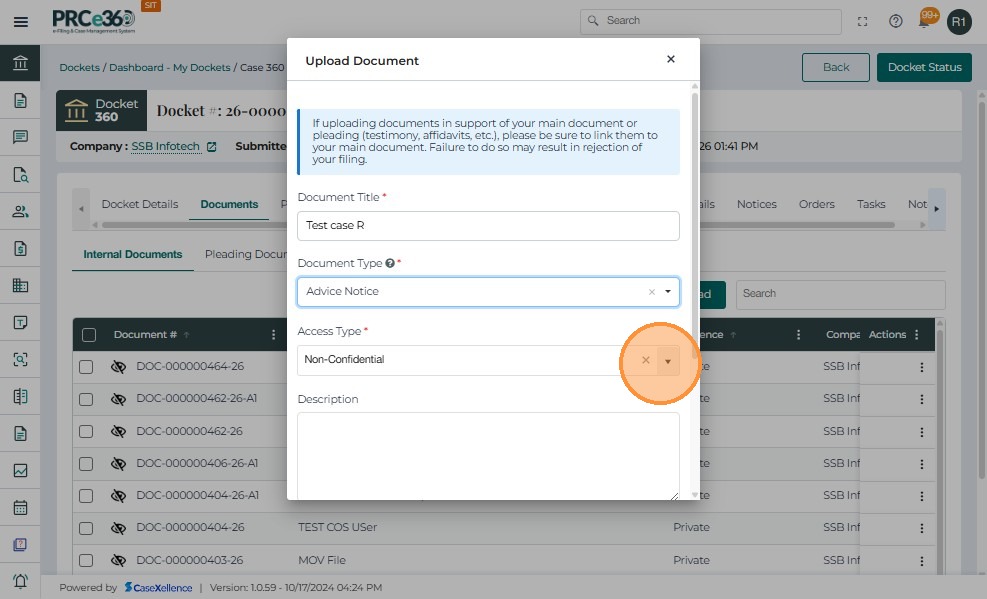
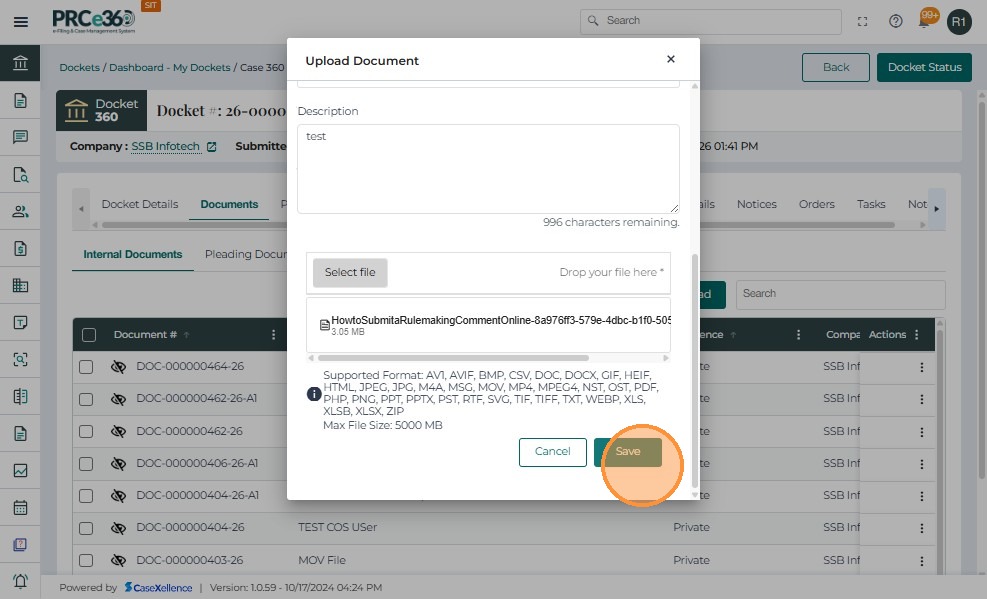
Once the user clicks the Upload button in the Internal Documents section, a new window titled Upload Document appears.
This window allows Records users to provide document-specific details and attach files for filing into the selected case.
-
Click the Upload button.
-
This opens the Upload Document window, where document details and attachments are added.
-
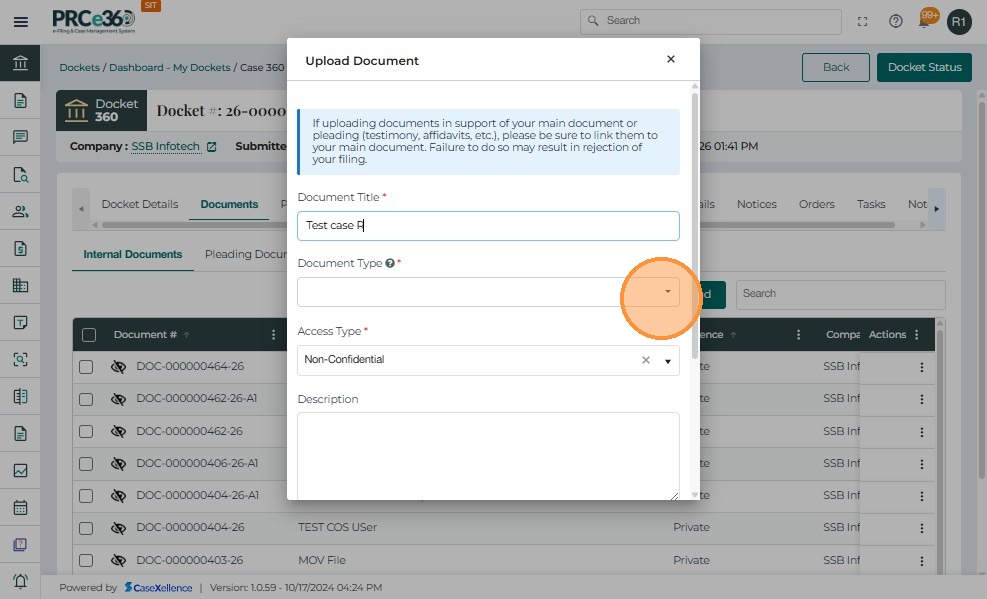
Enter the "Document Title" field.
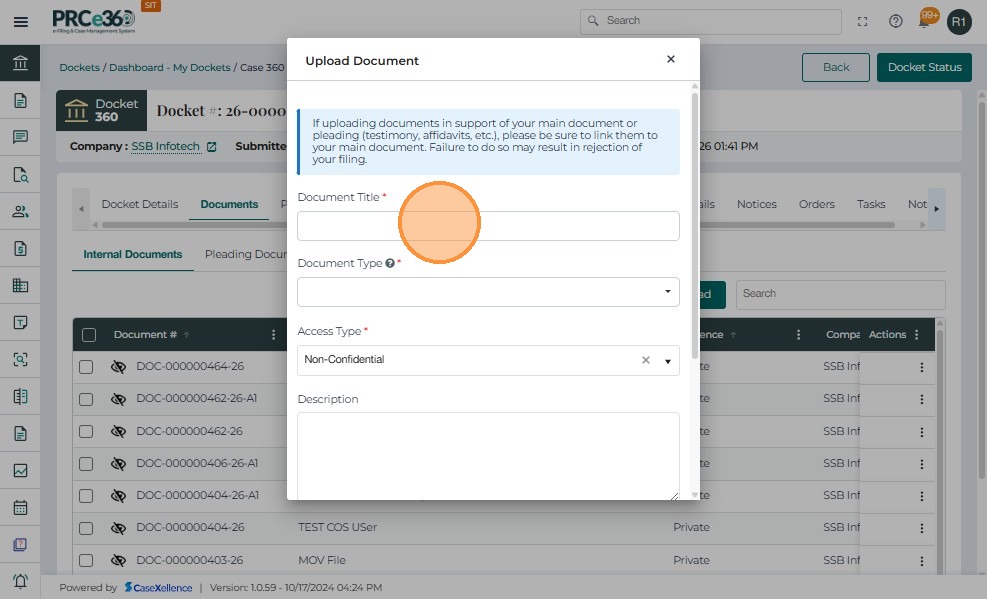
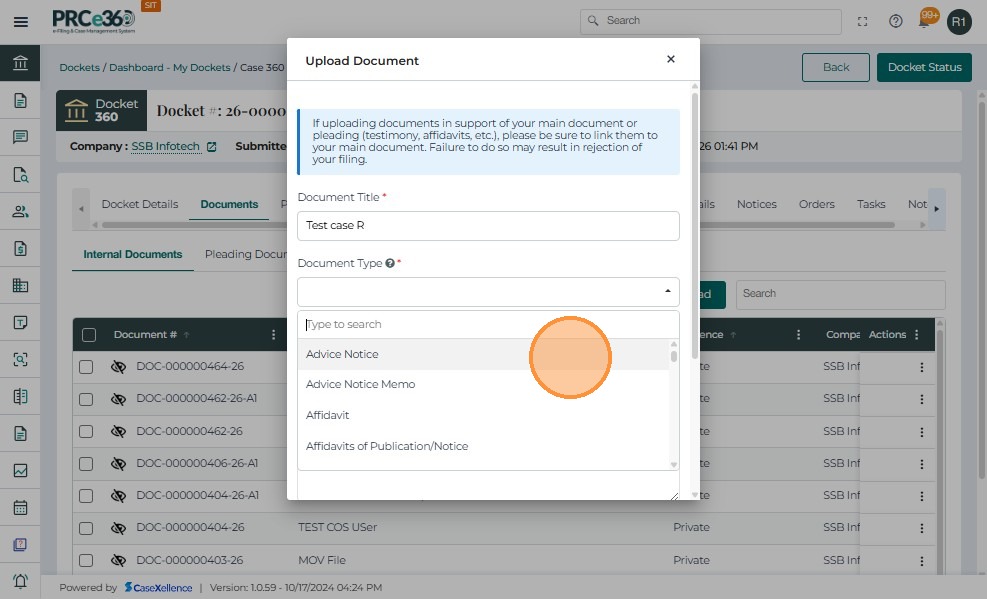
- Select the "Document Type" from the dropdown.
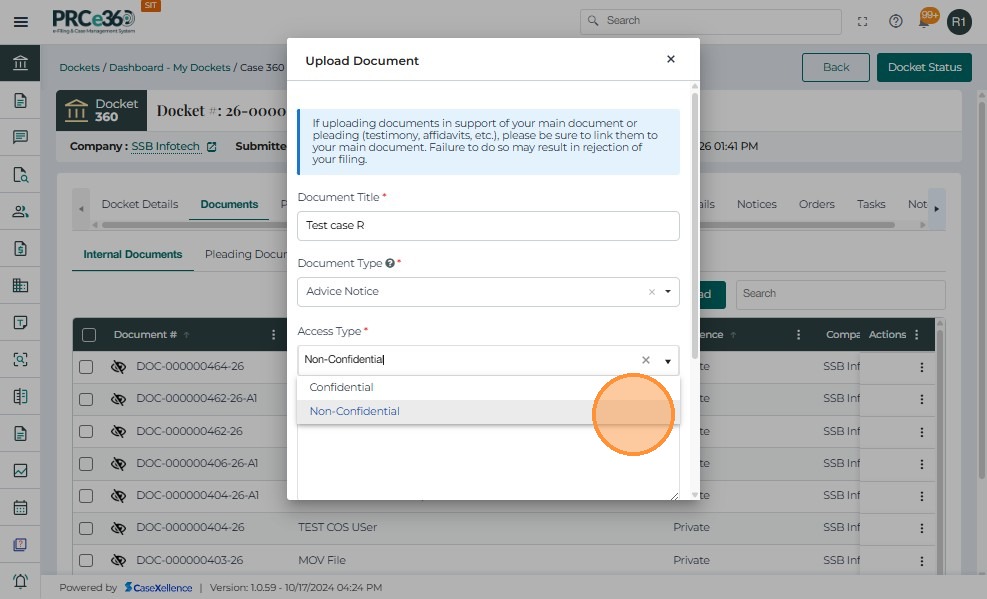
- Select the "Access type" of the document on whether it has to be "Confidential" or "Non Confidential".
- Enter the description.
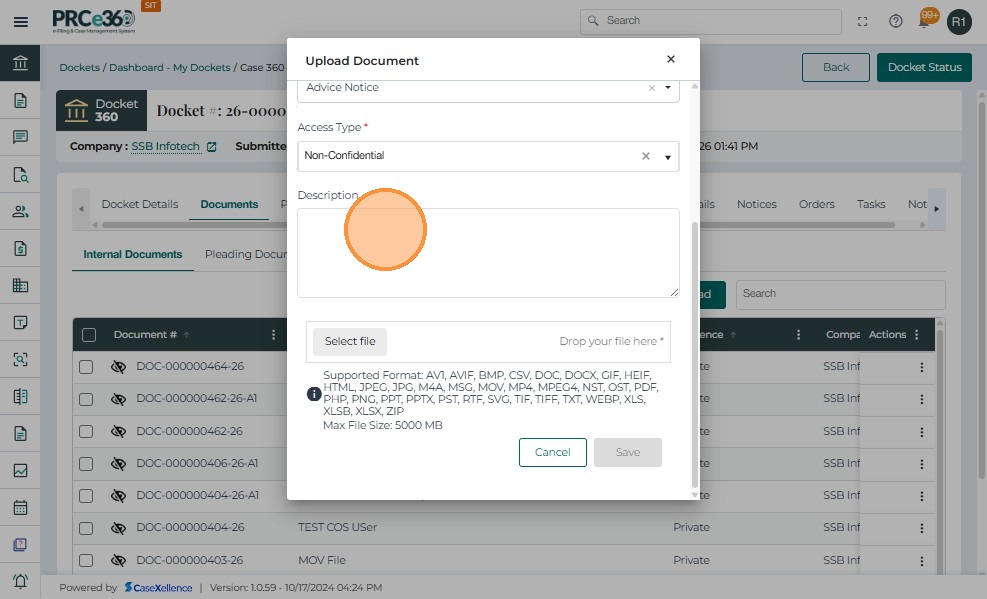
- Attach the document file.
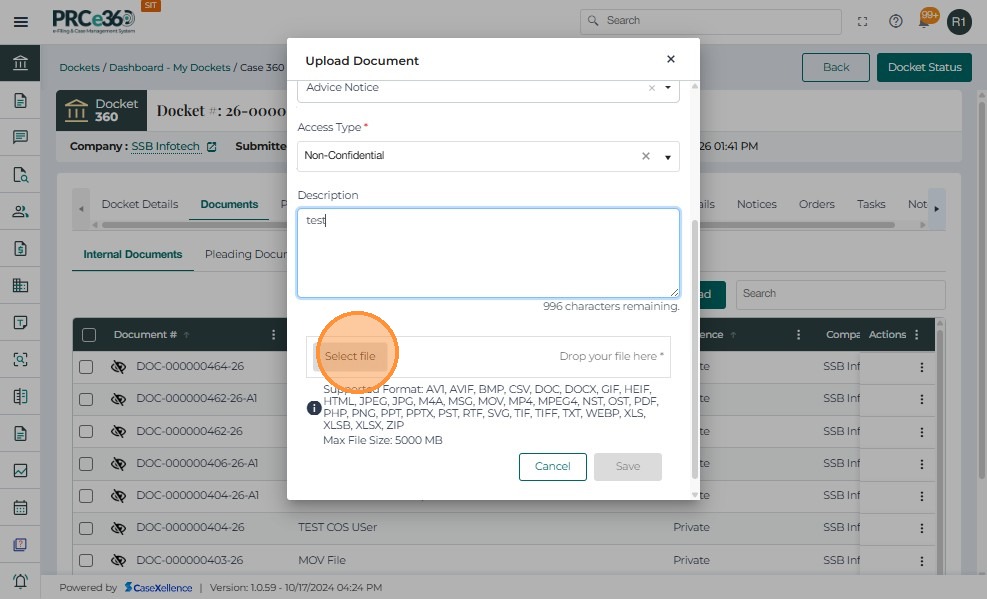
- Save the document.
- Click Cancel to discard the upload process without saving.
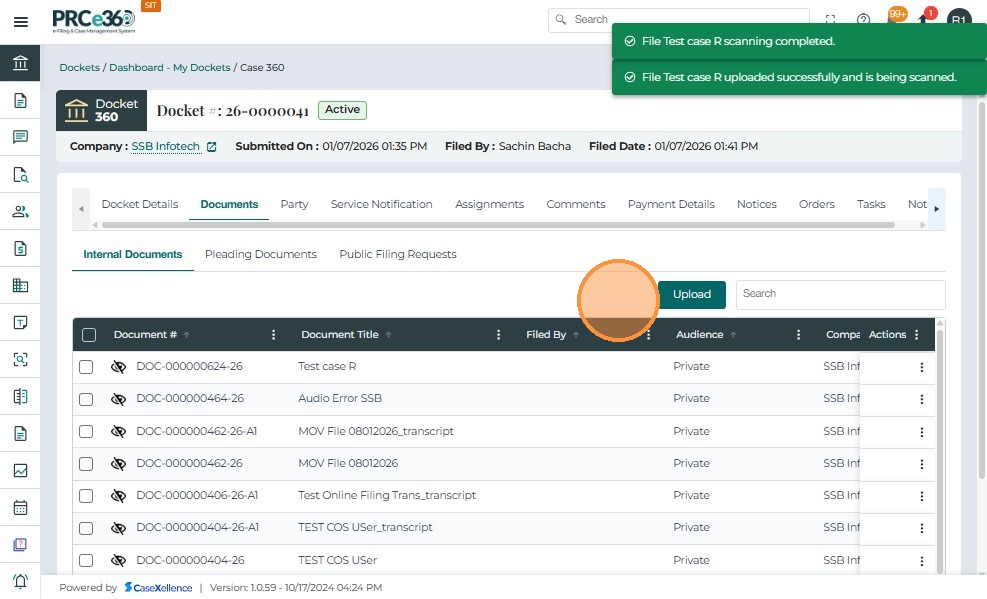
Once the document upload process is complete, the system automatically displays a confirmation message and updates the document list under the Internal Documents section.
- Upon successful upload, a green confirmation banner appears at the top of the screen with the message: Document uploaded successfully.
- The confirmation ensures that the file has been added to the case record and is now available for viewing and further actions.
- After the successful upload, the newly added document will appear in the Internal Documents table.
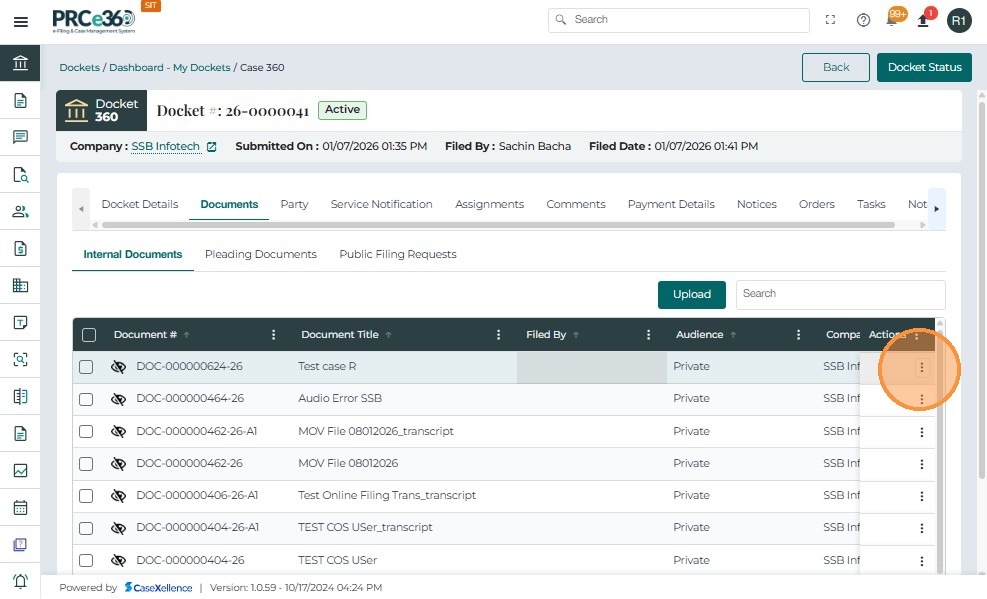
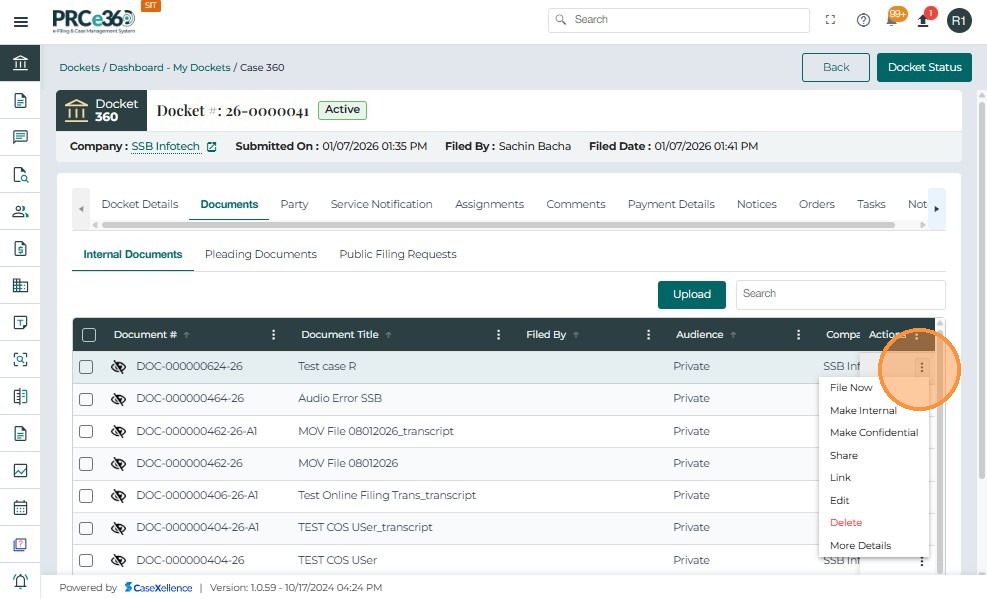
Once a document has been successfully uploaded, the Actions menu allows Records users to manage the document’s visibility, classification, and workflow.
The menu can be accessed by clicking on the three vertical dots under the Actions column corresponding to each document entry.
| Action | Description |
|---|---|
| File Now | Moves the uploaded document into the official case record, making it part of the case filing. Once filed, the document will be visible to all authorized internal users and, if marked as public, also to portal users. |
| Make Internal | Marks the document as an internal-only record, restricting its access to staff within the organization. External or public users will not be able to view or download it. |
| Make Confidential | Changes the document’s status to Confidential. This restricts visibility and access to designated Records staff and authorized internal users. Confidential documents will still display metadata (like title and date) to public users but not the actual content. |
| Check Out | Allows the user to take exclusive control of the document for review or edits. |
| Edit | Opens the document details panel to update metadata such as title, type, storage site, or description |
| Link | Allows the document to be linked to other related documents or cases. Linking provides traceability and ensures related filings are easily accessible. |
| Delete | Deletes the selected document from the case. This action is restricted to Records users and should only be used if a document was uploaded in error. Deleted files are removed from the case record permanently. |
-
To learn how to file a document, see Document Filing Request.
-
To know the steps and details for the rest of the functionality, see Document Linking.
-
Once a document is filed, it becomes part of the official case record and may move to the Pleading Documents section, depending on configuration.
-
Only authorized users can delete or change the confidentiality status.
-
All actions are logged with user details and timestamps for tracking purposes.